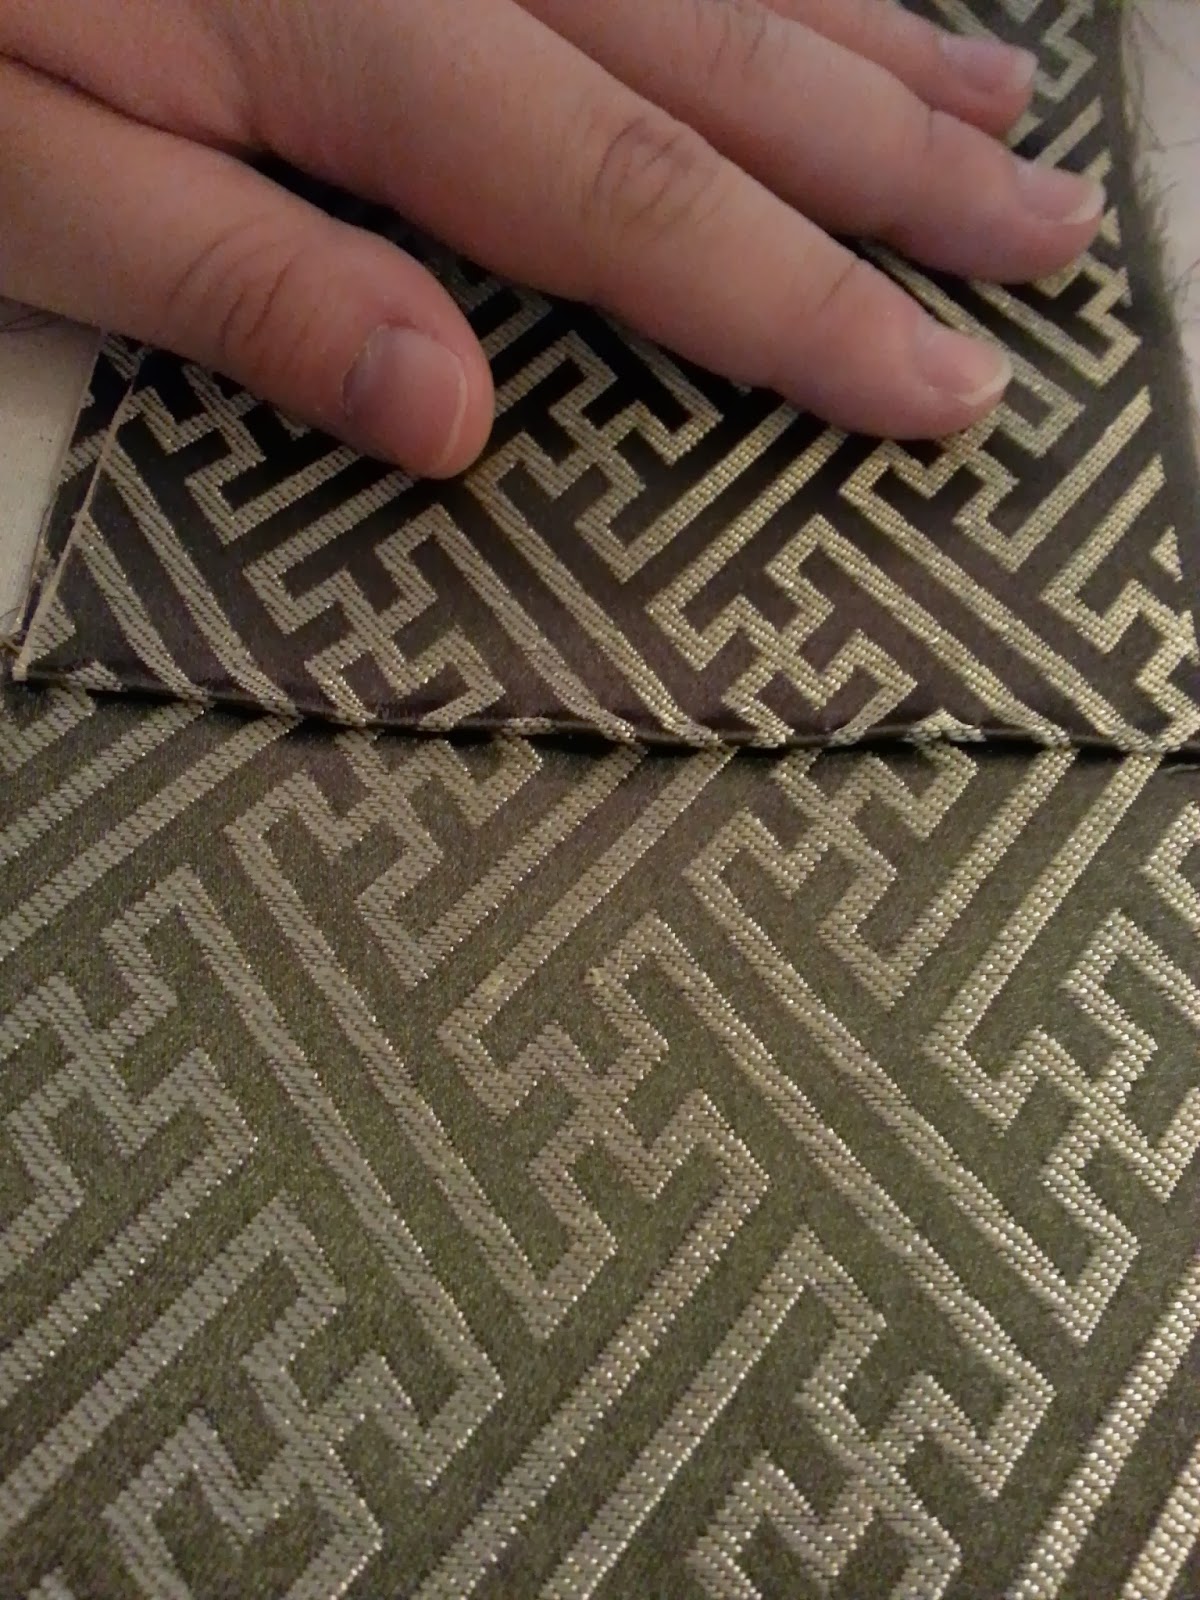
Okay, here are the last steps in finishing this awase kimono: attaching the sleeves and collar.
But first, a note about collars. There are three main types of collars, hiro eri, bachi eri, and bou eri.
Hiro eri is most common for women's kimono, both formal and informal. It is a wide collar that is meant to be folded over and is adjustable in width according to how the wearer wishes to do it.
Bachi eri is a collar that is already folded over into shape, narrower near the neck and gets wider towards the bottom. It is most common on informal kimono and yukata for women.
Bou eri is a collar that is already folded over and is an equal width for the entire length. It is most common on men's and young children's kimono, but can also be done on women's kimono as well.
Since I am doing a child's kimono, I will be doing a bou eri. Instructions for doing a bachi eri can be found
here. A hiro eri can be made similarly to how the okumi panels were sewn: outer and lining pieces sandwiched on the kimono, sewn, pressed, outside edges turned under and hand sewn.
1. Sleeve attachment prep
Before attaching the sleeves, the sleeve openings on the body should be prepped. First, prep the miyatsukuchi, armpit openings. Remember when the side seams of the body were sewn, the top few inches were sewn with the lining and outer fabric seams independent. This is so that the raw edges can be spread open to go line the opposing sides of the miyatsukuchi.
This is probably easier said than done, but, carefully spread open the excess seam allowance on the insides of both the outer and lining layers and iron iron them flat.
Next, mark where the sleeves will be attached. Whatever preferred marking method should be fine. I preferred to iron creases to use as my marks, so similar to how the hems were prepped, I folded under the free edges and ironed.
Fold under the lining along the miyatsukuchi slightly shorter, whereas the rest of the lining where the sleeve attaches can be flush with the outer layer, or slightly longer. Press to crease fabric.
Open up the inside of the sleeve body opening and press again the seam under the miyatsukuchi, to flatten the seam allowance that is changing direction from the sewn seam.
Now to prep the sleeves for attachment. Remember in the
first post I mentioned that it was important to make sure the two sleeves were mirrored in how they were put together and direction the seams were pressed.
If you open up the bottom of the sleeve and look through the lining fabric (or feel, if the lining isn't semi-sheer) you will see that the seam allowance along the bottom is on one side only - that side is the front of the sleeve.

I prepped the open end of the sleeves the same way as the body, by ironing, but mark sew lines in a way that works best. I folded under and ironed the outside first, then did the lining slightly
longer than the outer fabric.
2. Attach sleeves, outer fabric
This part was a bit difficult due to the small size of the kimono. Open up the ironed edges of both the sleeve and body sleeve opening, find and line up the shoulder folds on both and pin the two with right sides together. I inserted the pin into the ironed crease in the sleeve, and carefully manuver the pin to go through the crease of the body seam crease. Continue pinned down both sides all the way down to where the lining is attached to the back of the sleeves.
Sew the sleeve on, stitching directly in the ditch of the ironed crease. Due to the small size and curve of the pinned sleeve, I removed the footplate of my sewing machine. The last pin marks where the lining is attached, pull the lining aside so as not to accidentally sew through it. (The exposed sewing thread is basting stitches, don't worry, I'm not pulling on my lining!)

Push the seam allowance towards the sleeve and iron about 2mm past the stitch line.

Open up and iron the outside.
Turn over and iron flat the seam allowance on the inside where it is changing directions for the miyatsukuchi.
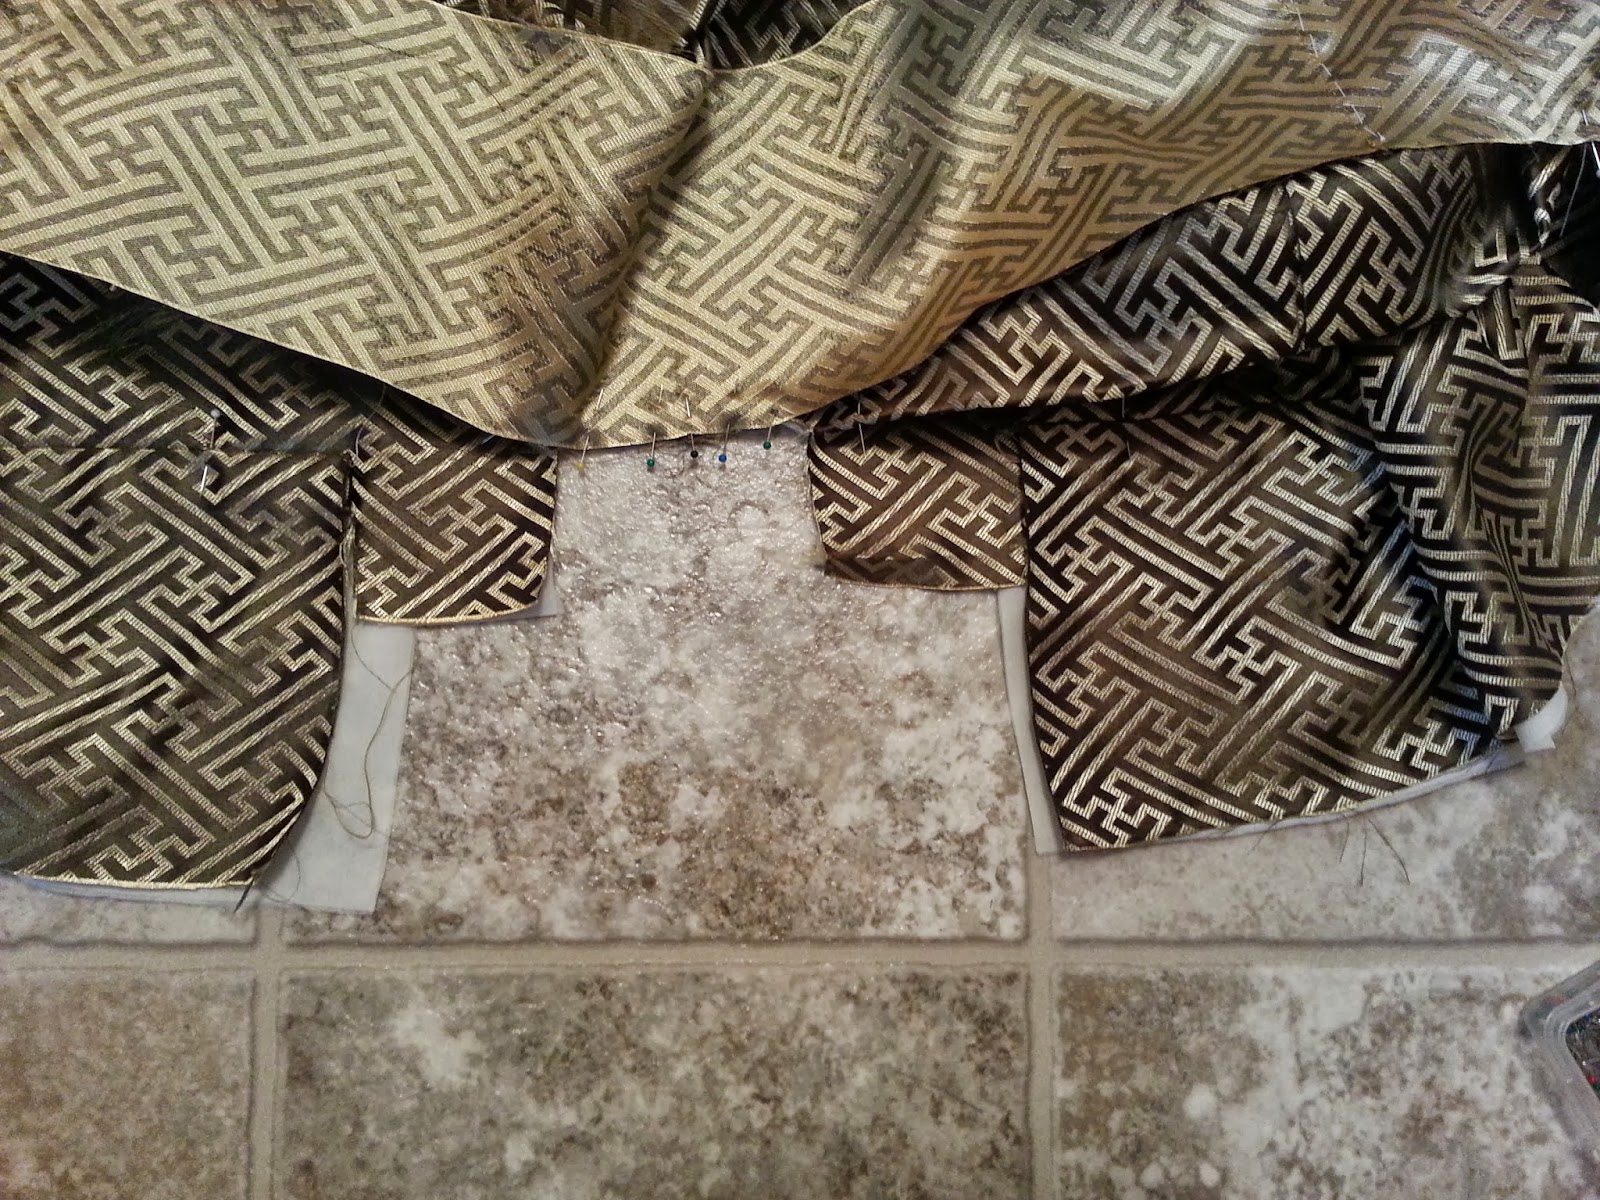
3. Sleeve attachment liningNow to do the lining. Turn the entire kimono inside out.

Begining from the miyatsukuchi, pin the lining to body. Smooth out the lining fabric from the center seam to make sure the lining is ironed under correctly, if not, iron again. Pin first only the body half of the lining to the sewn sleeve seam. When it was prepped before, the lining edges on the body lining should meet or cover the sewn seam.

Next work on pinning the sleeve lining to the body lining, replacing the pins where the lining overlaps. Smooth out the sleeve lining as you work to make sure it isn't to long or too short, iron the crease again if needed. The sleeve lining should overlap the body lining slightly, a few millimeters.
Sewing the lining by hand using that back and forth zipper like stitch, being careful to only sew through the folded under seam allowance, and not go through the outer layers of fabric. Sew a couple of reinforcing stitches at the bottom corner of the miyatsukuchi and where the sleeve begins to attach to the body.

And the sleeves are finished! Turn everything right side out again and iron again below the miyatsukuchi where the lining seam allowance changes directions.

Now all that is left to do is the collar. Before doing the collar I made some himo to attach. Only children's kimono have attached himo.
I just used leftover lining polyester. Fold a long rectangle in half, sew up two of the sides, clip the corners, turn right side out with a chopstick and iron flat.
4. Collar - TomoeriSince this is a children's kimono, I did a bou eri. I put some tips at the top of the post for doing bachi eri or hiro eri. I cut my eri (collar) strips with a 1-1.5cm seam allowance on either side, and a couple centimeters longer than my intended length.

Tomoeri is the shorter protective top layer of the collar around the neck. It can either be sewn on after the collar is attached (which is easiest, and allows for easy removal for cleaning) or it can be sewn on prior to attaching the collar which gives a neater feeling. I tend to do the second method.

Fold over and iron about 1-2cm on either end of the tomoeri. Fold both the eri and tomoeri strips in half to find the center and mark both sides with pins.

Place the tomoeri on top of the eri, line up the pins marking the center of both and pin the two together. Place pins at the bottom ends of the tomoeri through only the folded under seam allowance and eri strip (do not pin the top layer of the tomoeri).

Carefully lift the tomoeri away from eri and place at least one more pin in the center of the folded under seam allowance. The center marking pins can be removed.

My ironed crease became very difficult to see... but sew a couple millimeters inside of the ironed crease.

When the layers are separated to sew this part, it forms a sort of ring. Pay would-be assistants with fruit snacks and apple juice. He is supervising, "Good job mommy".

As it is now, the tomoeri is a bit shifty, since it is sewn a few millimeters in rather than sewn flat. I want there to be a folded over edge between these layers, but I do not want the tomoeri to shift around and expose the stitches like shown above, so I tack the fold down with a tiny stitch.

Similar to how the hem padding was tacked into place, sew slightly outside of the stitch line, long stitches on the back and tiny nearly invisible stitches on the front.
Now the folded over ends of the tomoeri can not be pulled apart and those tack stitches can not be seen.
5. Bou eri collar attachment
I will be honest and say, this is the most difficult part. This time in particular was especially difficult. I don't know if it was because my fabric is slippery or the small size of the kimono made it difficult line up both sides of the collar evenly, but this part literally took me 3 hours to get right! Geez! I was certain I was going to have nightmares of perpetually trying to fix uneven collar placement. Normally I don't have these problems, but patience and perseverance pays off!

My best advice is to use another kimono to reference collar placement. I used my son's dinosaur yukata that I made for him a couple years ago, which is the same size. First measure on the existing kimono the width of the collar from the center back seam, place a pin on either side of the cut collar slits, mark with pins.
Then measure the distance from the first mark to where the collar intersects the okumi seam, mark that on the unfinished kimono.

Then measure on the existing kimono the distance between the okumi seam intersection and where the collar ends on the outside of the okumi. Place the tip of the measuring tape on the okumi intersection marking pin and measure down to the same distance and place a pin on the edge of the okumi to mark the end of the collar.

I also measured my himo placement and pinned them in place.

Lay the kimono on the floor and open up the front so that the cut slits open into a rectangle shape. The shoulder folds will stand upwards and sort of get in the way. find the center of the collar strip and line it up with the center back seam, right sides together and pin in place along the back of the collar.

Line up the collar strip to the first pinned mark near the shoulder. This part is tricky because of the shoulder fold getting in the way, so it will take some manipulation to get this right. You want to pin the collar at this mark (I used a 1cm seam allowance) with a gentle curve, being careful to not pin any wrinkles from the shoulder fold. It might help to hold it in your hand and push up this point with your fingers to smooth out the wrinkles and folds in this section.

Work your way down to the okumi seam intersection.

Then down to the last pin marking the end of the collar. Work the otherside and check to make sure they line up evenly, especially the tomoeri, readjust as needed.

Since pins can be known to slip out or make it difficult to see puckers, so I always stitch a basting stitch to hold the collar in place before sewing with a machine. While basting, be mindful of wrinkles around the shoulder line.

Sew the collar, again being mindful of wrinkles near the shoulder line. Fold the seam allowance towards the collar and iron about 2mm from the stitch line to form the kise, open and iron flat.

Often, the excess fabric from the okumi panels is folded up inside of the collar to provide extra structure and thickness, but my fabric is thick and the collar is narrow, so I trimmed it.

The excess fabric has been marked and trimmed to the width the finished collar will be.

However, there is no excess fabric at the base of the neck where the original slits were cut for the collar attachment. To give a bit more structure to the nape of the neck, a small bit of fabric can be added.

For adult woman's size, I use a 15x30cm piece of starched cotton that gets folded to size to fit in the collar, but I don't need much stiffness in this collar, so I used a small bit of extra fabric. Line it up to fit in the empty gap and baste it in place, then fold to size if using a larger piece.
6. Collar finishing
Now it is time to fold the collar to the desired width and get ready to sew the backside.

I do this in two steps. First from the front of the collar, beginning at the center back, I measure the width and fold the collar over, placing temporary pins along the outside fold (as in the left side of the above picture). Then I turn the kimono over and fold under the excess width so that it just covers the stitches from the previous step, moving the pin from the top edge to the inside edge.

Once the entire length is pinned, iron. Now it is time to address the bottoms of the collars.
Remove the bottom few pins and turn just the bottom section of collar back on itself, so that right sides are together, pin in place.
Sew the bottom of the inverted collar about 0.5cm from where it is attached to the okumi.
Turn the bottom of the collar back to right side out, with the excess edges turned to the lining side.
Pin it closed again so it all is neatly hidden inside.
Hand sew the collar closed. Start from the center back and work down one side at a time, otherwise the collar may warp slightly.
Optional - I stitched the himo to the front of the collar. A decorative stitch called himo kazari or semamori can also be sewn.
7. All Done!!
The kimono will need to be adjusted to fit, by sewing tucks at the waist and shoulders. I will wait to do that closer to when it will be worn, since my son is going through a growth spurt at the moment. If I have time, I will include a separate post on that, as often times I've seen people ask how to sew those tucks on children's kimono.